hide-and-seek dress with woven yoke
We're thrilled to have Mathew back with us again! He's a true weaving wizard, and today he's here to share an incredible fabric weaving tutorial. Get ready to dive into the world of weaving with Mathew's step-by-step guide!
Hey there! It's Mathew Boudreaux (aka Mister Domestic) here, ready to show you how to incorporate weaving into your clothing projects. A while ago, I wrote a blog post for Oliver + S about the Woven Denim Secret Agent Trench Coat, and someone named Sarah had a brilliant idea to weave the inset of the Hide-and-Seek Dress. So here I am, ready to walk you through the process.
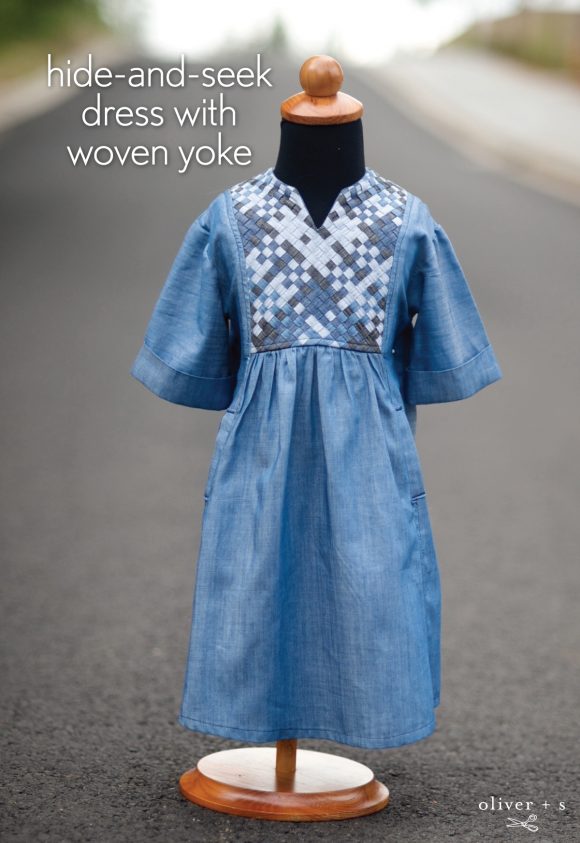
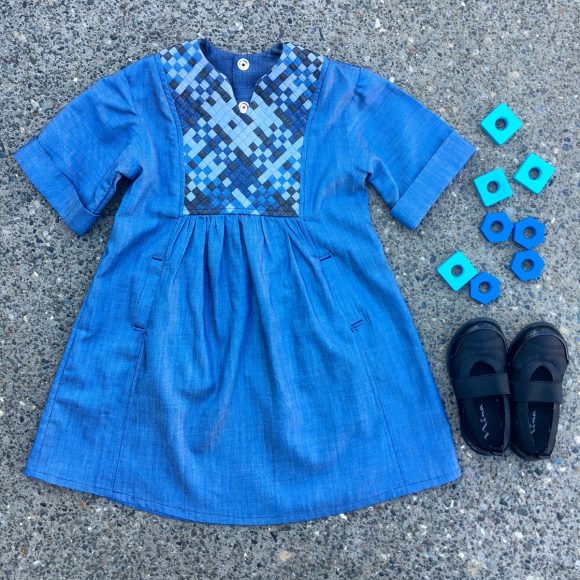
Take a look at this beautiful dress with its woven yoke:
First things first—buy the fabric and tools you'll need. I went with the reliable Art Gallery Fabrics Solid Smooth Denim because it's lightweight (4.5 oz) and perfect for weaving. For this project, I used a little more than an eighth of a yard from each of these four colors: Wicked Sky, Indigo Shadow, Afternoon Sail, and Infused Hydrangea. You don't have to use four colors, but aim for more than half a yard of fabric and a fat quarter of lightweight fusible interfacing for the weave inset. Along with the fabric, these are my must-haves for any weaving project: plenty of pins, a rotary cutter, my WEFTY Needle, a seam ripper with a dull point, and a bias tape maker. Don't forget foam board or cardboard and a Sharpie.
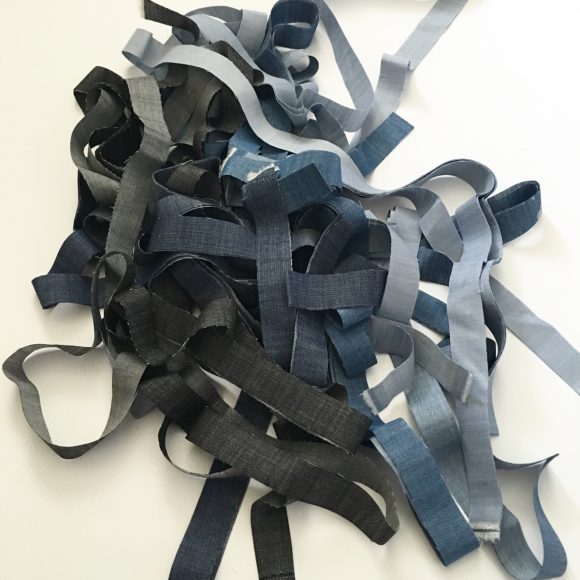
Once the fabric is safely at home in your sewing space, it's time to prepare the fabric strips. I prefer 3/8" strips for garments, but 1/2" strips might be better if you're a beginner. Trust me, that extra 1/8" makes a big difference in how long it takes to finish. Follow the instructions of your bias tape maker to create the strips. Cut them from selvage to selvage, and even though I use the bias tape maker upside-down, here's a photo to show you how I do it.
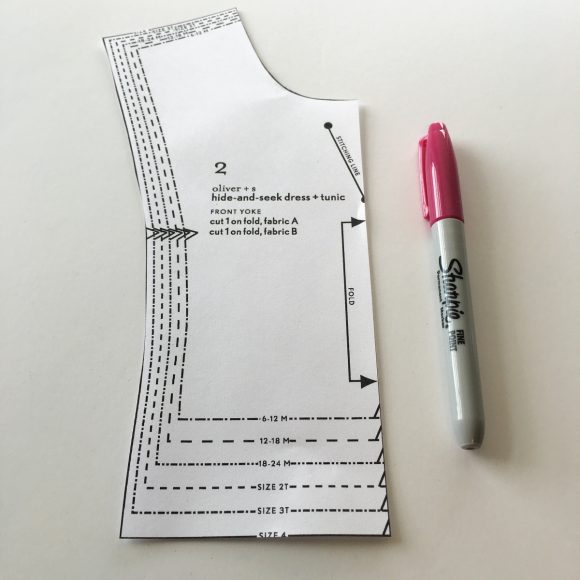
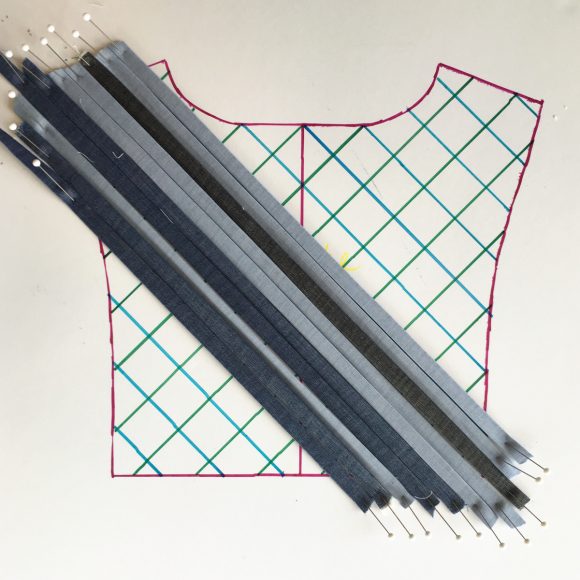
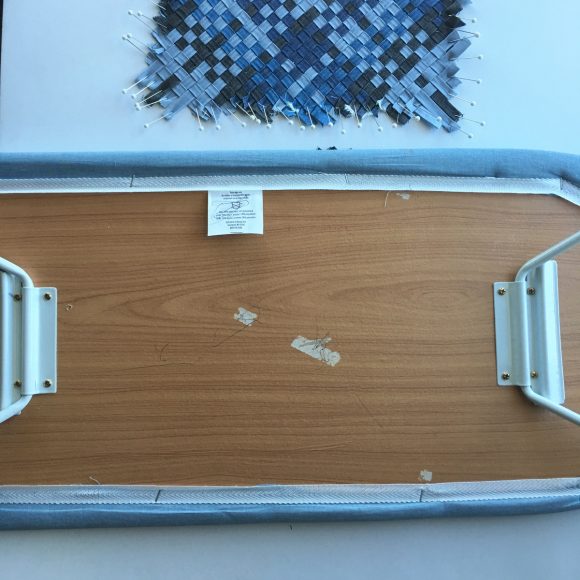
After pressing the strips, trace the outlines of the front and back yoke pattern pieces onto the foam board. Draw a center line to keep the weave symmetrical. Next, create a 1†grid at a 45-degree angle using the center line as a reference point. Here are some photos to help clarify:
Pin down your strips one by one, making sure they extend at least 1/2" beyond the edges until the pattern piece is completely filled. Here are a few tips:
- The strips don’t have to stay strictly within the gridlines; I use the grid to maintain symmetry and ensure parallelism.
- There’s no right or wrong weaving pattern. I took inspiration from plaids, but feel free to experiment or go monochrome. If you need ideas, check out my Pinterest board.
Once you've pinned one direction, it's time to weave! I usually start by finding a center point to ensure symmetry. Use a pin as a guide, then alternate over-under with each strip.

When you're done weaving, secure the back of the weave with fusible interfacing. If you're worried about the weave unraveling, you can use masking or packing tape to hold the edges in place before removing the pins. For smaller weaves like this, I skipped the tape and carefully unpinned the weave. Once unpinned, flip the weave so it lands face down on the ironing board, sandwiched between two boards. Use a lightweight fusible interfacing to stabilize the back.
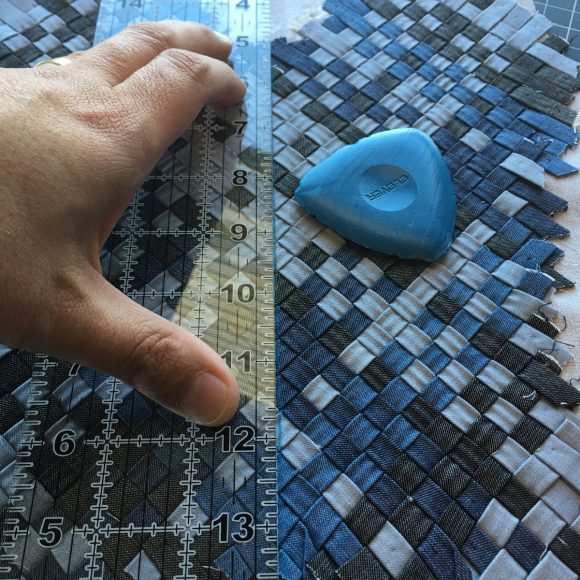
Outline the yoke pattern on the weave using chalk or a marker. Sew along the chalk line, then trim 1/8"-1/4" outside the line. For the front yoke, sew around the entire perimeter and secure the V-section. For the back yoke, sew on both sides of the center line to allow for slicing it in half later.
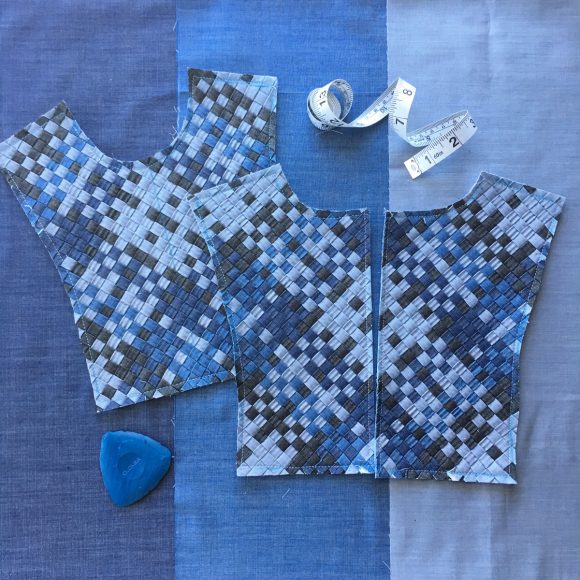
Voila! Your front and back yokes are now ready to be incorporated into the Hide-and-Seek Dress pattern.
If you have any questions, feel free to reach out—I'm happy to help! I'm super excited to see more people integrating weaving into their garments. Stay tuned for more tutorials from me soon.
Thanks for reading, and stay awesome!
P.S. Here's another view of the finished dress:
Tea Cup,Delicate Colors Tea Cup,Kung Fu Tea Cup,Heat Resistant Tea Cup
shaoxing qinzi business company ltd , https://www.qinzisx.com